Building a PC can seem daunting, but it’s one of the most rewarding projects you can undertake. Whether you’re assembling a gaming powerhouse, a workstation, or a general-use computer, this guide will walk you through every step of the process. Let’s dive in!
Step 1: Plan Your Build
1.1 Define Your Purpose
Before purchasing components, determine what you need your PC to do:
- Gaming: Prioritize a high-performance GPU and CPU.
- Content Creation: Focus on a powerful CPU, lots of RAM, and storage.
- General Use: A balanced, budget-friendly setup will suffice.
1.2 Set Your Budget
- Decide how much you’re willing to spend.
- Allocate funds proportionally (e.g., more on GPU for gaming).
1.3 Research Compatibility
Ensure your components work together:
- Motherboard and CPU socket: Match the CPU to the motherboard’s socket type.
- RAM and motherboard: Check the supported memory type (e.g., DDR4, DDR5).
- Case size: Confirm it fits your motherboard (ATX, Micro-ATX, Mini-ITX).
Step 2: Gather Your Components

2.1 Essential Components
- Processor (CPU): The brain of your PC.
- Motherboard: Connects all components.
- Memory (RAM): For multitasking.
- Storage: SSD for speed; HDD for capacity.
- Graphics Card (GPU): For gaming or graphic-intensive tasks.
- Power Supply Unit (PSU): Provides power; ensure sufficient wattage.
- Case: Houses all components.
- Cooling Solution: Air or liquid cooling.
2.2 Optional Components
- Optical Drive: Rarely needed but useful for DVDs/CDs.
- Wi-Fi Card: If the motherboard lacks built-in Wi-Fi.
- RGB Lighting: For aesthetics.
Step 3: Tools and Workspace Preparation
3.1 Tools You’ll Need
- Screwdriver (preferably magnetic).
- Anti-static wrist strap or anti-static mat.
- Zip ties for cable management.
3.2 Prepare Your Workspace
- Work on a clean, flat surface.
- Ground yourself to avoid static discharge.
- Ensure good lighting.
Step 4: Assembly
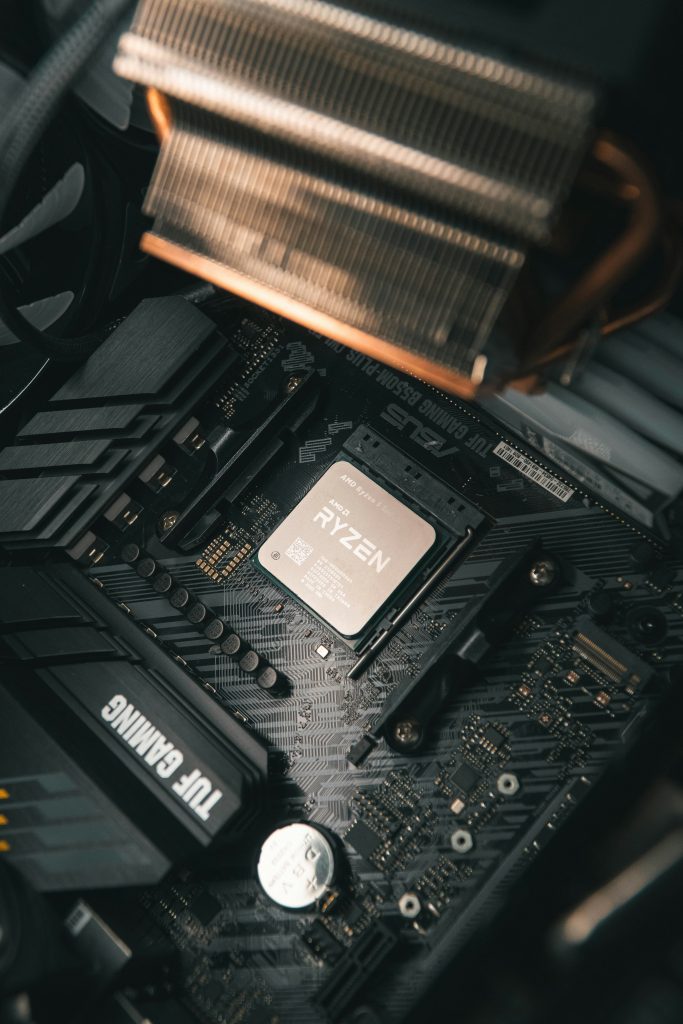
4.1 Install the CPU
- Open the CPU socket lever on the motherboard.
- Align the CPU with the socket (match the triangle on the CPU to the socket).
- Gently place the CPU and secure it by lowering the lever.
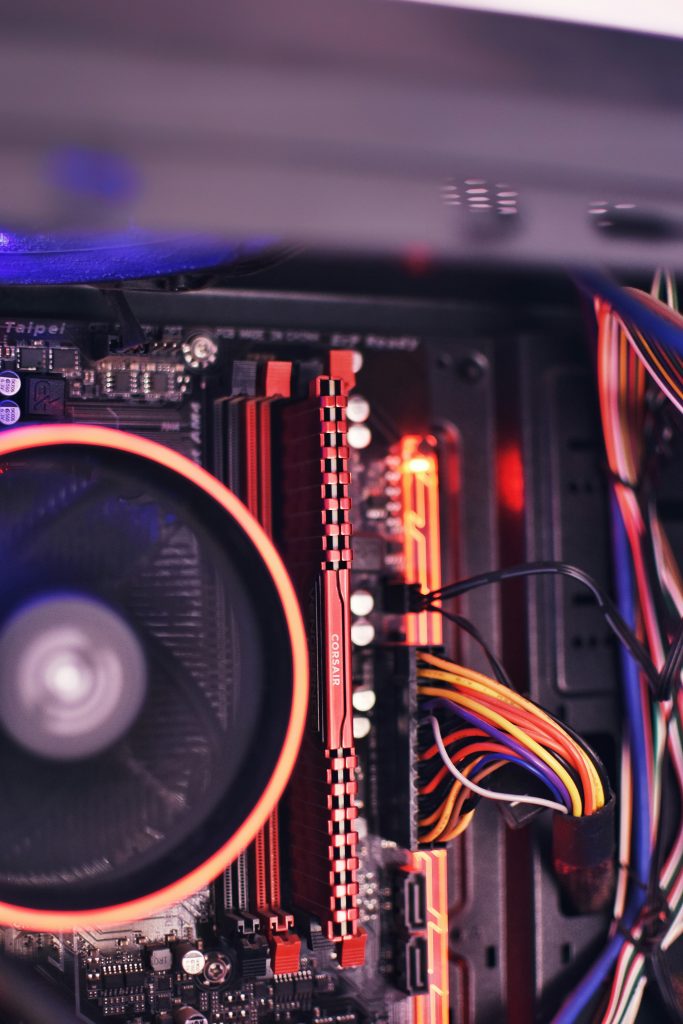
4.2 Install RAM
- Locate the RAM slots on the motherboard.
- Open the retention clips.
- Align the notch on the RAM stick with the slot and press firmly until it clicks.
4.3 Install the Motherboard
- Place standoffs in the case to align with the motherboard’s screw holes.
- Align the motherboard’s I/O shield with the case opening.
- Secure the motherboard with screws.
4.4 Install Storage
- M.2 SSD: Slot it into the motherboard and secure it with a screw.
- 2.5-inch SSD or HDD: Mount it in the drive bay and connect SATA cables.
4.5 Install the GPU
- Remove the case’s PCIe slot covers.
- Insert the GPU into the PCIe slot on the motherboard.
- Secure the GPU with screws and connect power cables.
4.6 Install the PSU
- Mount the PSU in the case (typically at the bottom).
- Connect power cables to the motherboard, GPU, and drives.
4.7 Cable Management
- Route cables through the case’s cutouts.
- Use zip ties to secure cables and improve airflow.
4.8 Install Cooling
- Air Cooling: Attach the heatsink and fan to the CPU.
- Liquid Cooling: Secure the radiator to the case and attach the pump to the CPU.
Step 5: Power On and Test
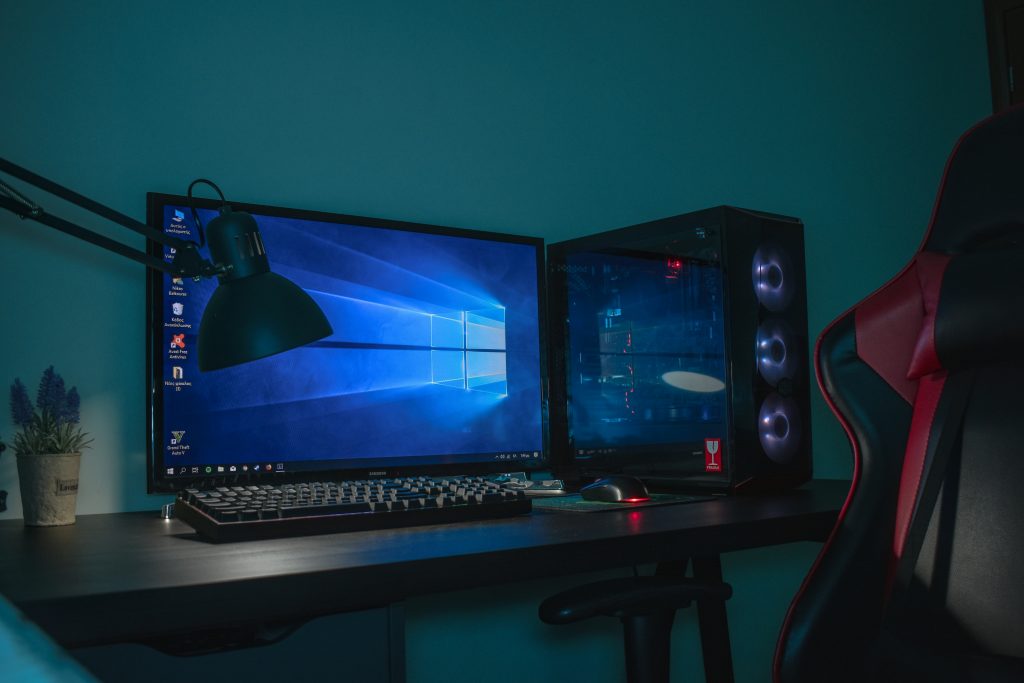
5.1 Initial Boot
- Connect the PC to a monitor and keyboard.
- Turn on the power and look for the BIOS screen.
5.2 Troubleshooting
- No power? Check PSU connections.
- No display? Reseat the GPU and RAM.
- Beep codes? Refer to the motherboard manual.
Step 6: Install an Operating System
6.1 Create a Bootable USB
- Download an OS (e.g., Windows, Linux) and create a bootable USB.
6.2 Install the OS
- Insert the USB and boot the PC.
- Follow on-screen instructions to install the OS.
Step 7: Final Touches
7.1 Update Drivers
- Use the motherboard’s and GPU’s websites to download the latest drivers.
7.2 Install Essential Software
- Web browser, antivirus, and any required programs.
7.3 Stress Test
- Use tools like Cinebench or Prime95 to test stability.
Conclusion
Building a PC is a fulfilling process that offers customization and performance tailored to your needs. With patience and attention to detail, you’ll soon have a machine that reflects your preferences and serves your purpose. Happy building!